Temple God
Prequest
This quest introduces you to Tamarin, an adventurer which stumbled upon the entrance to the Fire Basin area. Completing this quest gives you access to the Fire Cave, which is the entry point for Bios Island, Morse's Cave, and Temple of the Demon God.
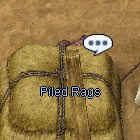
- Go to Pile of Rags (morroc 137,238) and choose Remove it. You will find that there is a person under there.
- Choose to Shake the rags, to wake him up. He will ask for something to eat.
- Give him 1 Monster Feed, and he will wake up to introduce himself as Tamarin.
- Choose to Introduce yourself. He will appreciate your friendliness.
- He will ask about a place to wash up. Tell him the place, and finally Accompany him there.
- Go to the northwestern portal (or use the Warper > Dungeons > Pyramids and exit the dungeon), and head to Tamarin at moc_ruins (107,139)
- He will tell his story, choose I'm listening, and then Tell him you want to tag along.
- Use the Warper > Special Areas > Dimensional Time Gap. Tamarin is just south of where you spawn. (dali 112, 69)
- Go northwest and take the warp to access the second area (or use the Warper > Heroes' Trails > Ghost Palace) then, go to the south-east. On the second island, turn to the south-west and talk to the Sand Mound (dali02 88,62) Tamarin will appear to talk to you. Choose Enter.
- You will arrive at the Fire Basin. Talk to Tamarin. Your conversation will be interrupted midway.
- Talk to Bargat Tiblack standing near you and accept her hunting quest. You have to help her kill 20 Fire Pits and collect 50 Burning Bug Skins. When you kill a Fire Pit, Fire Bug appear and they drop the skins at a 40% rate.
- Return to Bargat Tiblack and she will ask you to kill 50 Sonia and gather 50 Yummy Stems. Tamarin will call you before you finish the conversation.
- Talk to Tamarin and he will offer his help killing the Sonias. You will now only need to kill 25 of them and gather 25 of the stems.
- Meet Tamarin at the center of the map when you're done. (moro_vol 198, 179)He will offer you some of the stems to taste.
- Return to Bargat Tiblack. He will mention something about a cave, and tells you to meet Instructor Rugen.
- Find Instructor Rugen at the southwestern corner of the map (moro_vol 105,71) and choose Talk to him.
- Talk to Intoxicated Patient below Rugen to feed him the Sonia stems, and return to Instructor Rugen.
- Go back to Bargat Tiblack, and you will be rewarded with EXP, as well as access to the Fire Cave.
Fire Basin Cards
| Card | Type | Description |
|---|---|---|
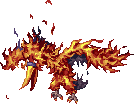
| Fire Condor Card | Accessory | Reduce Variable Cast Time of Fire Ball by 50%. Increase Fire Ball damage by 100%. |
| Fire Sandman Card | Armor | DEF +50. Reduce physical and magical damage received from Fire property monsters by 10%. |
| Fire Frilldora Card | Weapon | Increase magic attack against Earth property monsters by 3%.
If refined to +7 or higher, increase magic attack against Earth property monsters by 5%. If refined to +9 or higher, increase magic attack against Earth property monsters by 7%. |
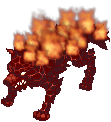
| Fire Golem Card | Shield | Reduce physical and magical damage received from Fire property monsters by 20%. Increase physical damage against Fire property monsters by 5%. |
| Fire Bug Card | Headgear | Has a high chance of inflicting Burning status on enemies when dealing physical or magical damage. |
Bios Island
Requirements and Rewards
- Use the Warper > Instances > Bios Island
- Base Level 160
- 1 hour to complete this instance
- Reward is 1 Token of Hero and 1 Prize of Hero
Instance
The instance is divided in 3 parts.
In parts 1 and 2, your objective is to kill every single mob on the map in order to get the warp, on the far right side, to open up.
- Enter the Fire Cave by talking to the Warper > Instances > Bios Island.
- Talk to the Wandering Old Man (moro_cav 45,60) to begin the Bios Island quest.
- Click on the Yellow Seed (moro_cav 45,60) which is right to the Wandering Old Man. You can generate and enter the instance from this NPC.
- Once you've entered, walk a bit on the east to get a dialogue scene between Vrid and Zeith.
- You will be asked to eliminate all the monsters in the first and second floor to proceed. They do a lot of damage so be careful!
- Once you reach the final room, you will meet Vrid and Zeith again. After the dialogue, 3 series of mobs will spawn. Kill them all to proceed.
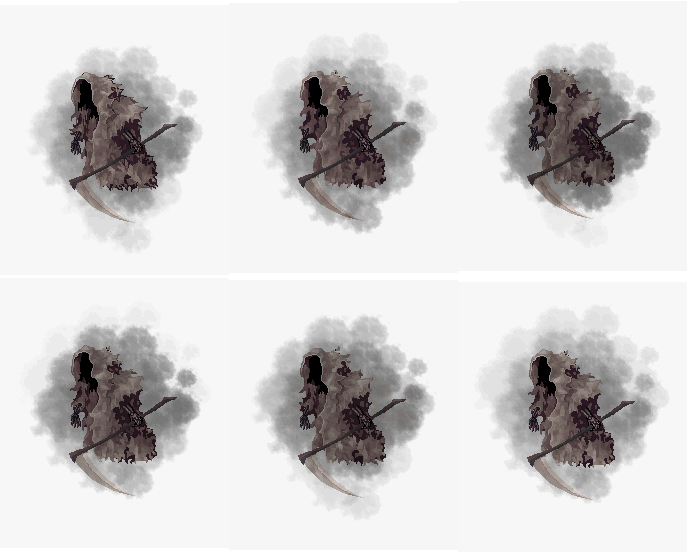
- The Reaper Yanku will then spawn. He is relatively easy, just make sure to avoid the Comet attack (you can use spellbreak on this one).
- The MVP will drop a Prize of Hero (regular drop) after dying. You can then talk to Vrid to exit the area and be rewarded with a Token of Hero.
Monsters
Cards
| Card | Type | Effect |
| Corrupt Life Card | Headgear |
|
| Grim Reaper Ankou Card | Headgear |
|
Morses Cave
Requirements and Rewards
- Base Lvl 160
- 1 Token of Hero and 2 Prize of Hero
- You will be able to access this instance if you've completed Bios Island. It is recommended to bring minimal support classes and the maximum number of damage dealer as it will reduce the chances of having no damage dealer during the split in phase 3.
- In the event where you end up in an uneven split where one group does not have any damage dealers, you are able to reshuffle the group by having a damage dealer exit the instance using Butterfly Wing and re-entering the instance. He will be randomly placed in one of the two groups. Repeat this process until the damage dealer joins the right group. Speak to Red Flower (moro_cav 57, 65) to re-enter.
Instance
To enter this instance, warp to Bios Island under instance tab.
Talk to Senior Tracker (moro_cav 61, 69) to generate the instance.
Talk to the Red Flower (moro_cav 57, 65) to enter.
The instance is divided into five phases.
- You fight 9 Morroc's Ghoul, kill them all to proceed.
- Weakened Morroc will spawn. Kill him and move on.
- Your party will be randomly split into 2 groups and be rooted in place. If the split is bad, you can have members re-enter the dungeon and get warped randomly again. Both parties must be alive and have killed all the mobs otherwise the instance will end.
- All party members will be teleported back into the same ice room and you'll get new waves of monsters to kill.
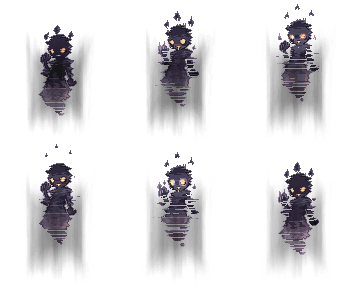
- Your party will face Morroc Necromancer (ghost form). It is fairly weak and easy to kill.
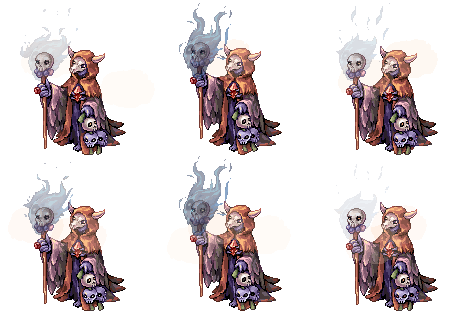
- Once killed, he will morph into his FINAL FORM (necromancer form). The MVP itself isn't too hard to deal with, he only spams Frost Joke and Meteor Storm. The hard part is the amount of slaves spawned every 20 seconds which can easily overcome your party if you're not careful. It is recommended to group your party alongside the walls and stick together for this phase.
- Morroc Necromancer will drop 2 Prize of Hero upon death.
- Talk to the teleportation device to exit the map and speak to Senior Tracker (moro_cav 61, 69) in order to receive your Token of Hero.
Monsters
Cards
| Card | Type | Effects |
|---|---|---|
| Morocc's Minion Card | Armor |
|
Temple of the Demon God
Requirements and Rewards
- Base Lvl 160
- Completed Bios Island and Morse Cave
- You have 1 hour to complete this instance
- Reward: Squad Prize (Essences of Evil)
Instance
Walk to the north part of the room close to Ahat where he will notice you. He will now teleport the party to a new room.
Ahat & Shnaim
Defeat Ahat % Shnaim, they will drop both a soul. You need to put the souls left and right to open the portal. Enter to proceed with the instance.
Be aware that some monsters have the element Ghost Lv 3 and that means that your damage needs to be from a different element besides neutral to cause them damage.
Morroc in his kid version will greet you to reach him. Loki and Nidhogg will appear and a brief conversation will roll. After a while a new portal will appear in the left side of the room.
Brinaranea
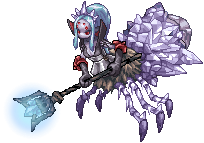
In this room you will face Brinaranea and Frost Spiders.
Most of the skill being used here either water or wind based, and can also freeze you, so having a way to not freeze and some reduction based on those elements is advised to be used when facing.
OPTIONAL: After killing the MVP, if you're not yet maxed, you can talk with Nidhogg before entering the room and proceed with the rest of the instance. She will give you a reward of 37.5M base exp and 12.5M job exp.
Morroc will once again show his face and after a brief talk a new portal will appear but this time on the right side of the room.
Muspelskoll
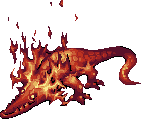
In this room you will face Muspelskoll along with Frenzied Kasas and Salamanders.
Almost every skill here is fire based so fire reductions are a must. MDEF based gear may help but be careful with the Fire Pillars since they ignore it at 100%.
To melee damage users: Be careful when you attack since everything besides the MVP can cast Reflect Shield and kill you.
This room is mostly a gear check. If your damage isn't high enough, you won't be able to out damage the heal spam from the MVP.
OPTIONAL: After killing the MVP, if you're not yet maxed, you can talk with Nidhogg before entering the room and proceed with the rest of the instance. She will give you a reward of 37.5M base exp and 12.5M job exp.
Morroc will salute your achievement in his glorious adult form but the game hasn't ended. A new portal will appear at the north side of the room where the final fight will start.
Morroc
The final fight has three stages:
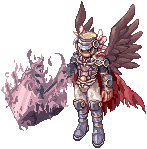
Morroc in his kid form a.k.a. Demigod until you reach 50% of HP
Morroc summons Morroc of the Sabbath & Morroc of the Genesis and killing them reduces Demigod's HP to 20%
Morroc in his adult form a.k.a. Despair God Morroc
Besides Earthquake, that both Demigod and Despair God Morroc have, the rest doesn't hurt much. Both phases of Morroc are mostly HP sponges.
Demigod is Holy so physical damage dealers are advised to bring Cursed Waters or ammunition of the same element.
Despair God Morroc is Shadow so physical damage dealers are advised to bring Holy Elemental Converters, asking for Aspersio, or ammunition of the same element.
If you succeed to kill Despair God Morroc, Nidhogg will appear and give a Squad Prize when you talk to her as a reward for completing the instance.


